Tap to Read ➤
Easy Nail Designs to Do at Home
Azmin Taraporewala


Nail designs look funky and classy all at once. Here are easy nail designs to do at home. You are free to try your hand at it and make the best of it!
Have you ever wished to flaunt your nails? Do you enjoy envious glances and avid stares at your very own nail art? Yes? Alright then, so before we move on to exploring the easy and fun nail designs to comply with at home, let us focus on the subject of nail care. In the sections to come, we will elucidate how to do nail art at home.

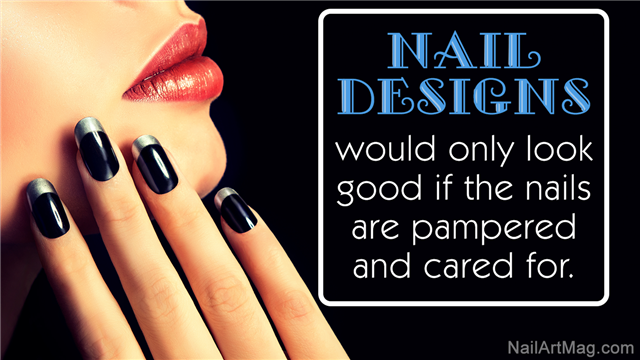
Nail Designs Would Look Best Only If ...
- You have nails that look pampered and cared for.
- Manicure and pedicure sessions are your best friends.
- Your cuticles are moisturized.
- You have never resorted to nail-biting and even if you have, you have given up the nail fixation on time.
- You are ready to get rid of your nail polish as soon as it starts to chip.
- You bid farewell to your habit of using the acetone or nail polish removers every alternate day of the week.
Choosing Nail Art Designs at Home

Nail art items need to be selected as per your choice. You may choose the one that best suits your preference and style. Several brands offer designs and items to make sure they suit and conform to the fashion requirements of the masses.

There are some essential items that are accompanied with the nail design set, such as brushes and the marbling equipment. If you are not really keen on adapting to nail designs that are available in the market, you are free to use your own creativity and concoct your own recipe to have gorgeous nails.
Before You Start with the Nail Art Procedure ... .


- Have cotton balls in ample stock
- Nail polish remover and acetone in bulk.

- You must choose a place that is well-ventilated.
- The space you choose, sit and experiment at, should be ready to bear spills.
- To be on the safer side, you must always place a plastic sheet and a paper on your workstation. It is only after this procedure, that you must start working.

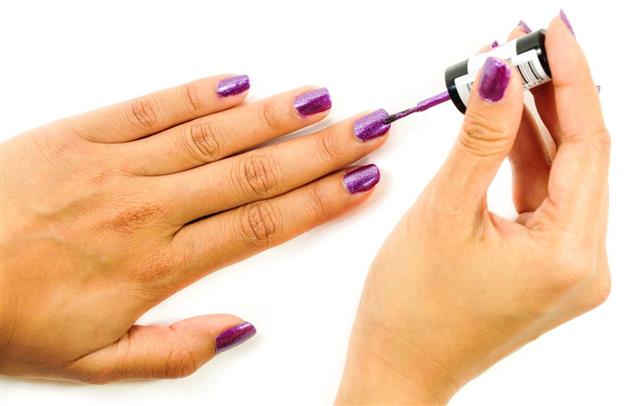
- Select a coat that is dark hued, and apply two coats to ensure complete coverage of the nails.
- Let the nail color dry completely. Make sure that the nails do not endure any abrasion. Let them dry in peace with ample time to spare.
Easy Nail Art Design Ideas
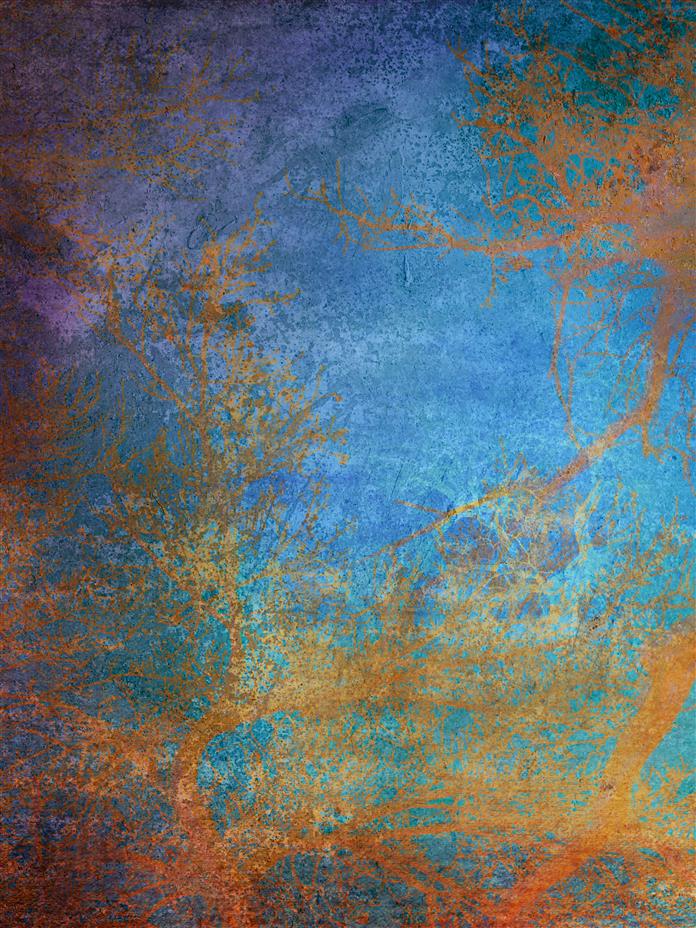
Nature Designs

If you are intrigued by nature and want to have a piece of it painted on your nails as well, you could choose a nail art design that is dedicated to nature. To give it an extremely realistic feel, you may use the nail polish colors such as green, yellow and blue as primary hues.
For a safe start, you may use a white nail polish and paint your nails. After giving some time to the white shade to dry, you may move on to using the yellow nail polish only to paint the tips or the upper crest of the nail. After the color dries, you may take a thin brush and add two leaves at the bottom of the nail bud with a dark shade of green.
This will create an impression of the sun being the light and life contributor to plants. Another design that you may try, is to make a simple flower with a shade of red being the background. Make a flower with yellow petals and light green leaves. This design would look stunning!
Black and White
Have a dark and bright shade console your nails... the art-y way! This is indeed an easy nail design, absolutely meant for conducting it at home.
For a head start, paint your nail bed with the color black. Let the first coat of the nail paint dry out completely and only then top it up with another one. After the two-coat application is done; with a white nail polish, paint the rising crest of the nail.
Horizontal strokes of the nail brush over the crest will give a neat and well-trimmed finish. A look at your nails, and one would know as to where the attitude comes from!
Geometrical Designs

You may bring back memories of school and rehearse your geometry section once again. If nature designs and flower making is not your forte, design shapes that amalgamate your geometrical endeavors.
You may use a light-colored nail polish to paint your nails completely. Let it dry. With a dark nail polish of your choice, you are free to make Frisbee designs or little circles, triangles and squares. You may smear some sparkle on the nail for the purpose of highlighting the design.
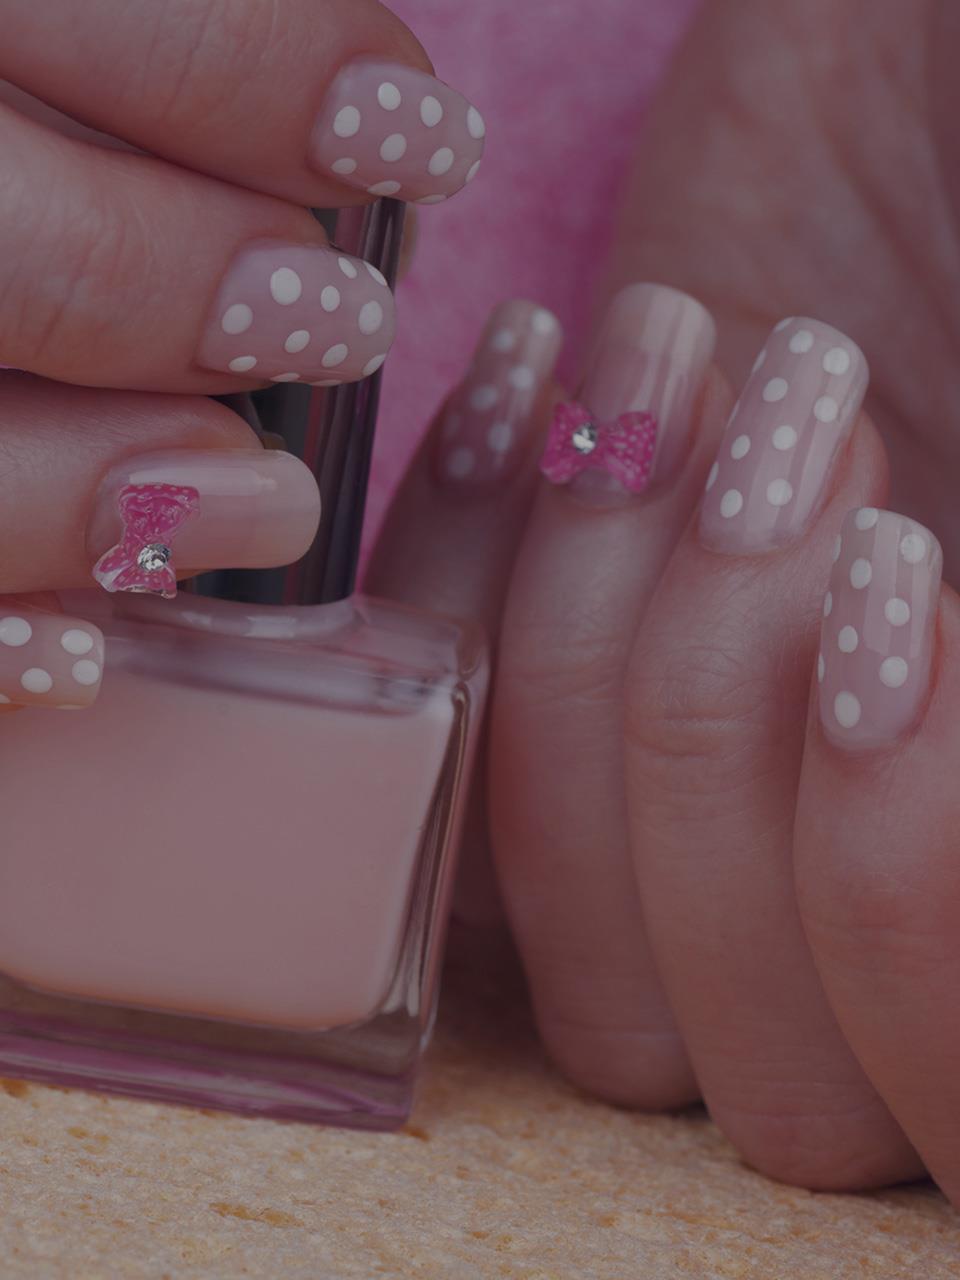
Polka Dots
Another simple design is to paint your nails with a dark shade of nail color and make a dotted design over the coat.
As it goes for all nail design instructions, it is mandatory, that you keep patience and let the color dry. After it has dried, take a pencil or a tiny-thin stick and dip it into a light nail enamel shade. Spot your nails with the colored tip of the stick. Now, doesn't this call for a colorful 'dipstick'!
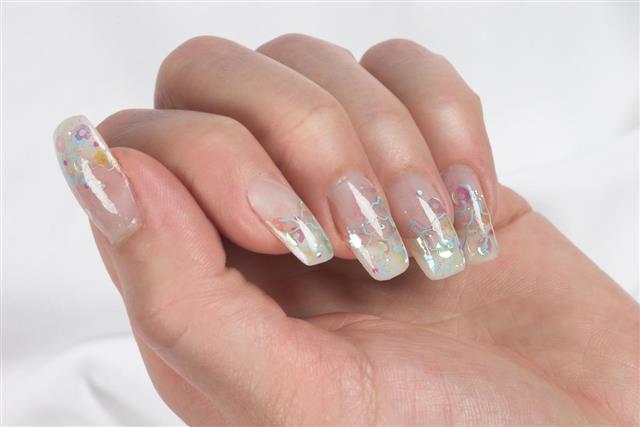
Designs with Gems
You may also choose to apply tiny and petite stickers on the nail. All you need out here is tweezers, cotton balls, stickers and gems.
Hold the sticker or the gem/bead with the tweezers, dip the side of the bead that you have to stick into the glue bottle, and carefully place the gem or the sticker on the desired place. Be very careful when you are doing this.
You may mess the entire nail design if you are not accurate, and if your hand is not rock-steady. Try doing this several times on a piece of paper, till you perfect the art. It is only then that you would be able to make a design that you would cherish.
The Revolutionary Magnetic Nail Art
A new trend making waves in the world of nail art is the magnetic nail art. The magnetic nail polish consists grainy metal particles. The cap of your magnetic nail varnish has an affixed magnet.
As soon as you apply the nail varnish, you must hold the magnetic cap and loom it over the nail varnish. However, make sure that you loom the magnet over the nail for 10 to 15 seconds. You would observe a pattern being formed, as the magnet superficially reacts with the metal particles.
For a better hold of the nail polish and the design, complete the entire procedure for each nail. Your nail varnish has to be fresh and wet for the magnet to work. Apply a protecting top coat after the nails have dried and the pattern has been set.
After Completing the Nail Art Design ...
- Let the nails dry thoroughly. Don't be in a hurry and spoil the effort that you have put in.
- Ensure that you apply a transparent nail shade as top coat to provide the nail with a protective cover, thus preventing the nails from chipping.
So with these easy nail designs to do at home, you are sure to have enviable nails. Nail art is not an impossible task if you have the right attitude to carry it off well. A pinch of panache sprinkled, won't do much harm either; what do you think?