Gone are the days when you had to bask in the sun for that gorgeous tan that you have always desired. Also, the UV rays of the sun and traditional tanning beds may pose a health hazard. Read this extract for some tips on airbrush tanning.
Tap to Read ➤
Airbrush Tanning Tips
Anannya Saikia


Gone are the days when you had to bask in the sun for that gorgeous tan that you have always desired. Also, the UV rays of the sun and traditional tanning beds may pose a health hazard. Read this extract for some tips on airbrush tanning.
You may have wondered how celebrities get that marvelous tan no matter whatever the season may be. The secret is nothing but airbrush tanning. Airbrush sunless tanning is one of the healthiest option to get a tan. You might walk into a salon pale-skinned but come out with a healthy tan. Tanning actually takes place when your skin gets exposed to the sun. It results in the production of pigments which the skin produces to protect itself from the sun's UV rays.

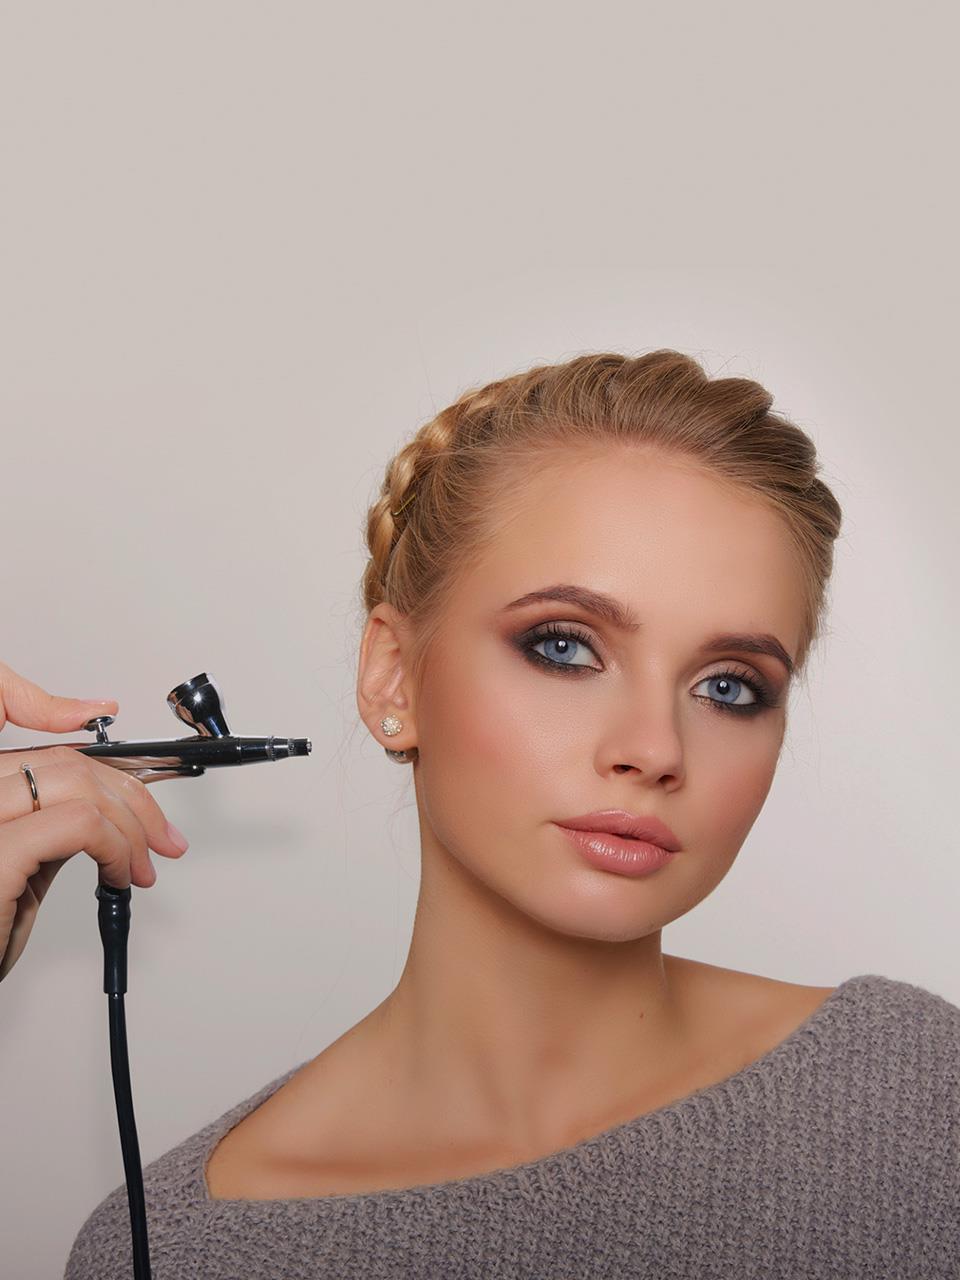
In case of airbrush tanning, a compressor and an airbrush is used to apply the tanning solution. An active ingredient DHA is present in the tanning solution. This produces a bronzing effect, reacting with the outer layer of the skin. But the pigmentation which occurs from an airbrush tan does not provide any UV protection.

The color usually continues to darken after the first application. A normal bronzer is also provided along with the tanning solutions. This helps to give an immediate tan effect and also helps to distinguish areas of the skin that have been applied with the tanner. But this bronzer also comes off after the first shower.

Though you can get a tan done at salons, it would be nice if you can get it done by yourself. The job might seem quite tiresome at first, but it is certainly a better option than getting yourself roasted in the sun.
Method for Airbrush Tanning
Things You Will Need:
- Exfoliating loofah
- Spray-on tanner

Procedure
Step 1
The first and foremost thing to be done is exfoliation. It is necessary to slough away the dryness with a loofah and an exfoliating body or shower gel. Exfoliation will remove the dead skin, and this will help in easy application of the tanning lotion.

Step 2
Shave or wax the areas where you wish to apply the tanning solution. If your hair removal method is waxing, do it one day prior to tanning. You can shave off with a new razor just before the tan process, but you will not be able to shave for at least a day after the airbrush tan.
Step 3
The next step is to use a moisturizing body lotion or cream. Use any plain lotion. Don't use those having heavy fragrances, as when applied immediately after shaving, it might cause ingrown hair or irritation. Apply the lotion an hour before the tanning solution is applied. The method of applying the lotion is the same as you would normally apply it.

Step 4
This tanning system requires that you understand the method properly. Start from the bottom and work quickly and consistently because you would not like to ruin your work. The trick is to move fast so that it does not streak and too much color is not applied in one area. Remember to always keep the can or the airbrush gun moving.
Step 5
The most important tip is to try to cover every inch of visible skin with the tanning solution. The spraying method should be such that it is done in long strokes. The vertical panels of your skin should be covered before you move on to the next area. Make sure that you have covered all the areas evenly.
Step 6
Allow the airbrush tanner to develop well before deciding that the tan needs to be darker. If the results do not turn out to be as desired, repeat the process.
If you want to get a gorgeous tan like one of those celebrities, try it out. You can follow the tips mentioned here or simply visit a salon. So, get a tan today and that too without burns!